Indonesia Visitor Visa file preparation
Take the Indonesia eVisa photo with iPhone
Most upload problems start before export. A steady camera, plain background, and level face produce a clean final file.
Checked: 2026-07-02
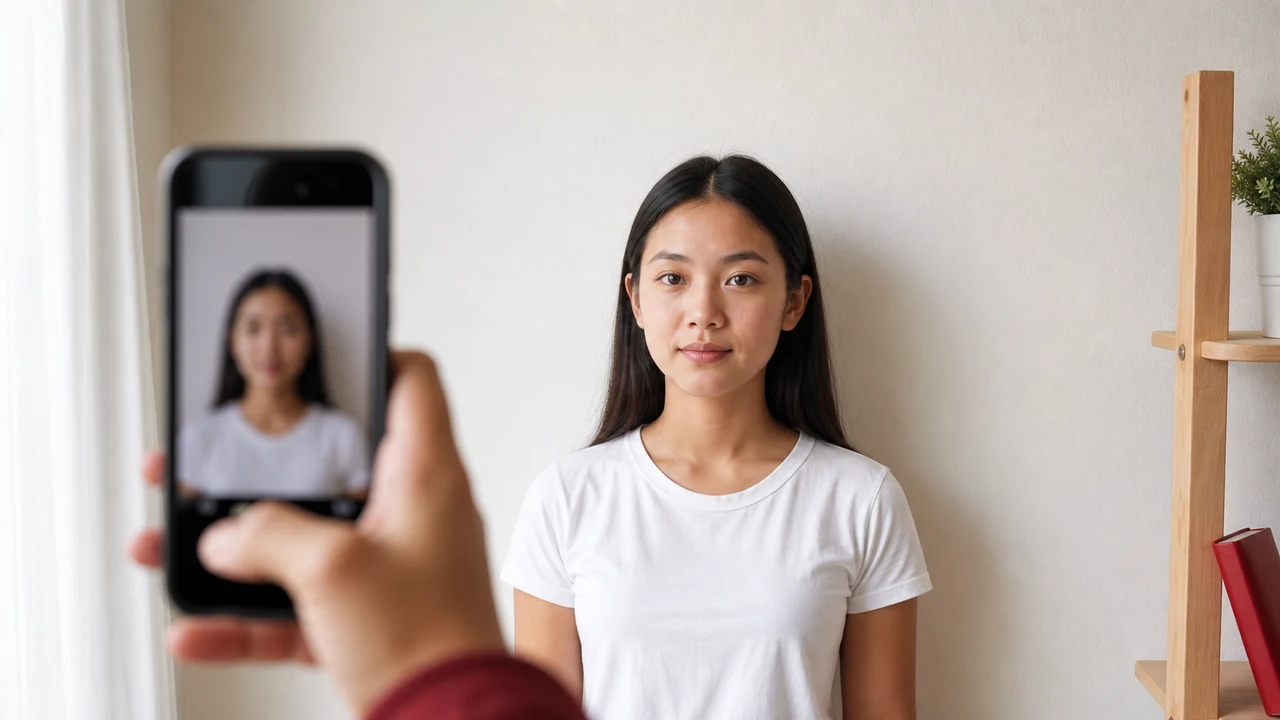
The photo conditions to check first
- Use a bright plain wall or background.
- Keep the camera at eye height and avoid wide-angle distortion.
- Face forward with a neutral expression.
- Check the exported image, not only the camera preview.
-
Set up the location and light first
Stand a little away from a plain light background so the wall shadow does not sit directly behind the head. Face a window or soft light source rather than standing under a strong ceiling light.

-
Camera position
- Use the rear camera when possible for sharper detail.
- Hold the iPhone at eye height, parallel to the face.
- Step back enough to avoid a stretched nose or forehead from wide-angle distortion.
- Take several photos and choose the sharpest one at full size.
-
Before saving
Look for hair covering the eyes or face outline, glasses glare, uneven background shadows, and an expression that looks like a smile or grimace. Fix those before compression.

Create your photo in the browser
Prepare the photo for Indonesia eVisa directly in your smartphone or computer browser. Creating and reviewing are free.
Open the web toolWhat this tool creates
- the required face photo (for digital upload)
- the passport biographical data page (photo page) (for document upload)
Also available as an iPhone appOpen the App Store
About Shoumei
Shoumei is an independent file-preparation tool. It is not an Indonesian government, Directorate General of Immigration, embassy, or consulate service.
Always confirm the latest conditions on the official Indonesia eVisa portal.
Upload mistakes that can cause problems
Avoidable file errors can slow down an Indonesia eVisa / eVOA upload. Check these points before you submit:
-
Mixing up the 200KB and 2MB limits
Different screens show different maximum sizes. Over-compressing to fit 200KB can make the face or MRZ unreadable, while trusting the 2MB hint may still get the file rejected by the upload field.
-
Glare across the passport MRZ or photo
Reflections on the machine-readable zone or the photo field stop the data from being read. Photograph the bio page in flat, even light without flash.
-
Wrong photo dimensions
The registration screen asks for a 4 x 6 cm photo at least 400 x 600 px. A face that is too large, too small, or the wrong aspect ratio can be rejected.
-
Cropped or partial passport page
Cutting off a corner, the MRZ, or the photo field means the document cannot be verified. Keep the full bio page inside the frame.
-
Non-neutral background or shadows
Patterned walls, strong side light, or shadows across the face obscure facial features. Use a plain light background lit evenly from the front.
-
Wrong format or heavy compression artifacts
Saving as HEIC or a format the portal does not accept, or JPEG quality so low the face looks blocky, causes rejection. Export as JPG/JPEG/PNG.
Why Use the Indonesia Visa Photo App?
Fit the portal file-size field
Check and resize the face photo and passport image so they meet the size shown on your application screen, without over-compressing until the text blurs.
Frame the full passport bio page
Crop the page precisely so the MRZ, photo, and all text fields stay inside the frame and remain readable after export.
On-device processing for privacy
Your photos stay on your iPhone. Nothing is uploaded to a server while you prepare the files.
Export in the accepted formats
Output JPG/JPEG/PNG at the 4 x 6 cm / 400 x 600 px guidance so the file matches what the registration screen expects.
Note: shoumei.org prepares image files only. It does not submit Indonesia visa applications or choose a visa type for you.
FAQ
Can I use Portrait Mode?
Avoid background blur for visa upload photos. A normal sharp image is easier to inspect and compress.
Can I crop from a group photo?
Do not use a group or travel photo. Take a new recent photo with only the applicant visible.
Source references
- Indonesia eVisa - foreign national account registration Checked: 2026-07-02
- Directorate General of Immigration - photo format PDF Checked: 2026-07-02