Japan eVISA file preparation
Upload checklist for Japan eVISA files
How to prepare your face photo and passport image before opening the official Japan eVisa application flow, so you can complete it without stopping midway.
Checked: 2026-10-04
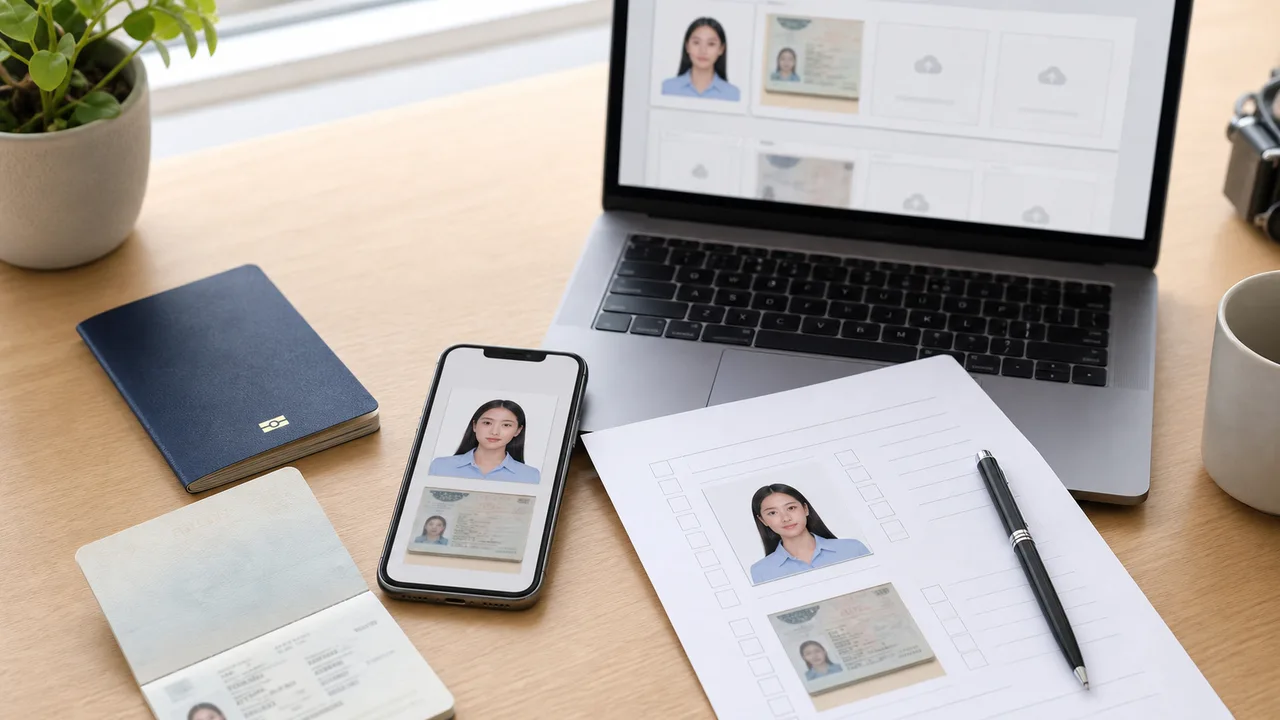
Quick summary
- Confirm your trip purpose is eligible for the eVISA route.
- Face photo is recent, front-facing, clear, and not a photo of a printed photo.
- Passport image is readable and not cropped.
- Files open correctly from Photos or Files.
- Official MOFA and mission instructions are checked before submission.
Check the face photo
- Taken within the last 6 months.
- A white background with no patterns or shadows.
- Face is clear, centered, and not hidden by hair or glasses.
- No beauty filter, AI face change, or heavy retouching.
- Not a camera shot of a printed photo.
Check the passport image
- Full data page is visible.
- Passport number, name, dates, and MRZ are readable.
- No glare over the laminated photo or MRZ.
- No finger or cover edge hides the page.
- Any extra checklist document image is prepared if your mission requests it.
Check the route before you submit
MOFA FAQ separates short-term tourism eVISA from purposes such as business, study, work, or family visits. If your purpose is not the tourism route, do not rely on a tourism eVISA photo checklist alone.
Check the published notes of your mission before you submit
Missions publish their own eVISA notes and checklists, and the details differ by route. Two official examples show why the pre-submission check matters.
The Consulate-General of Japan in New York publishes eVISA notes stating that the facial image cannot be replaced after the application is submitted, and that if the image cannot be accepted the application may be terminated.
The Consulate-General of Japan in Los Angeles publishes an eVISA checklist that limits each section upload to one PDF file or up to three image files (JPG, PNG, GIF, or HEIC).
These are examples from two missions, not a common eVISA specification. Confirm the published notes of the route you actually apply through before you submit.
Create your photo in the browser
Prepare the photo for Japan Visa (paper application) directly in your smartphone or computer browser. Creating and reviewing are free.
The photo specification this tool creates depends on your destination country and application route. Select your route in the tool.
Open the web toolAlso available as an iPhone appOpen the App Store
Based on official sources
These preparation steps are based on public information from Japan MOFA and Japanese diplomatic missions about JAPAN eVISA eligibility, online application scope, photo quality, and passport image preparation. The app prepares photo files; the visa application itself is submitted through the official route.
Upload mistakes that can cause problems
The following upload mistakes can cause a Japan eVISA photo or passport image to be returned. Avoid them before you submit, and confirm the latest official instructions for your route.
-
Uploading a photo of a printed photo
Photographing a printed ID photo adds paper texture, glare, and blur. Use the original digital capture and export a clean JPEG.
-
Unreadable passport data page
Glare, blur, cropped edges, or a hidden MRZ can stop the application. Keep the page flat and re-shoot under even light.
-
Copying paper visa sizes online
Some embassies list 35 × 45 for paper applications. Do not assume the same size applies to the online eVISA upload.
-
Beauty filters and AI retouching
Face-slimming, skin smoothing, and background replacement change how you look and can make the photo unusable. Keep the image natural.
-
Background that is not plain
Shadows, patterns, or a background that blends with light clothing fail the plain or white background check.
-
Files recompressed by chat apps
Sending the photo through a messaging app can destroy detail. Upload the original exported file, not a recompressed copy.
Why use the app to prepare files
Frame a 35 × 45 digital photo
The app helps you compose a Japan visa-style digital face photo with the right proportions, using your iPhone camera.
Export a clean JPEG
Get a clear file directly, without the recompression that messaging apps add, so facial detail and passport text stay sharp.
Check background and face position
Preview the plain background, face angle, and framing before you upload to the official system.
Independent preparation tool
The app only prepares image files. You still submit through the official JAPAN eVISA route and follow their instructions.
shoumei.org is an independent file preparation tool and is not affiliated with the Government of Japan, MOFA, embassies, or consulates. Preparing a photo with the app does not guarantee photo acceptance, application approval, or visa issuance.
FAQ
What should I check first?
Check eligibility and route first, then the face photo and passport image. A technically good photo does not make an ineligible route eligible.
Can I rename the app exports?
Usually yes, but the important part is selecting the correct final face photo and passport image during upload.
Can I replace my face photo after submitting the Japan eVISA application?
Not on every route. The Consulate-General of Japan in New York states in its eVISA notes that the facial image cannot be replaced after submission, and that an image that cannot be accepted may lead to termination of the application. Check the notes of your own mission before you submit.
How many files can I upload per section on the Japan eVISA portal?
It depends on your route. The eVISA checklist of the Consulate-General of Japan in Los Angeles allows one PDF file or up to three image files (JPG, PNG, GIF, or HEIC) per section. Other routes may differ, so check the published checklist of your mission.
Official sources
- MOFA - JAPAN eVISA system Checked: 2026-09-30
- MOFA - FAQ about JAPAN eVISA Checked: 2026-07-02
- Consulate-General of Japan in Los Angeles - eVISA requirements checklist Checked: 2026-07-02
- Consulate-General of Japan in New York - Important Notes on eVISA Checked: 2026-10-04